前馈神经网络
Table of Contents
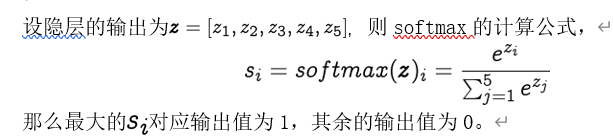
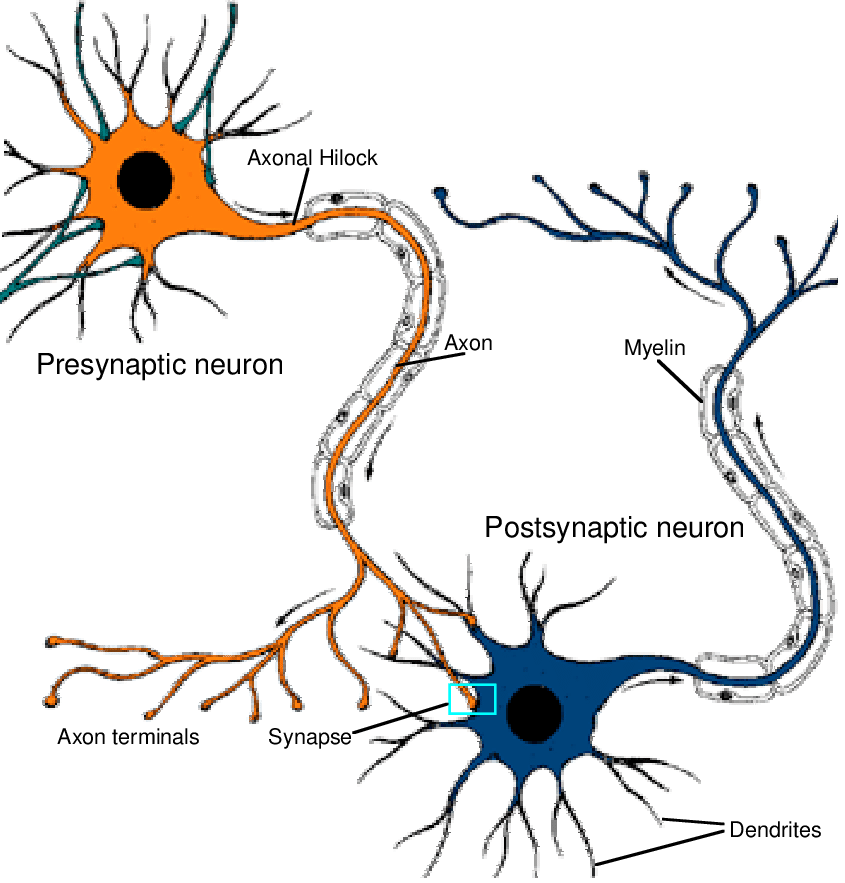
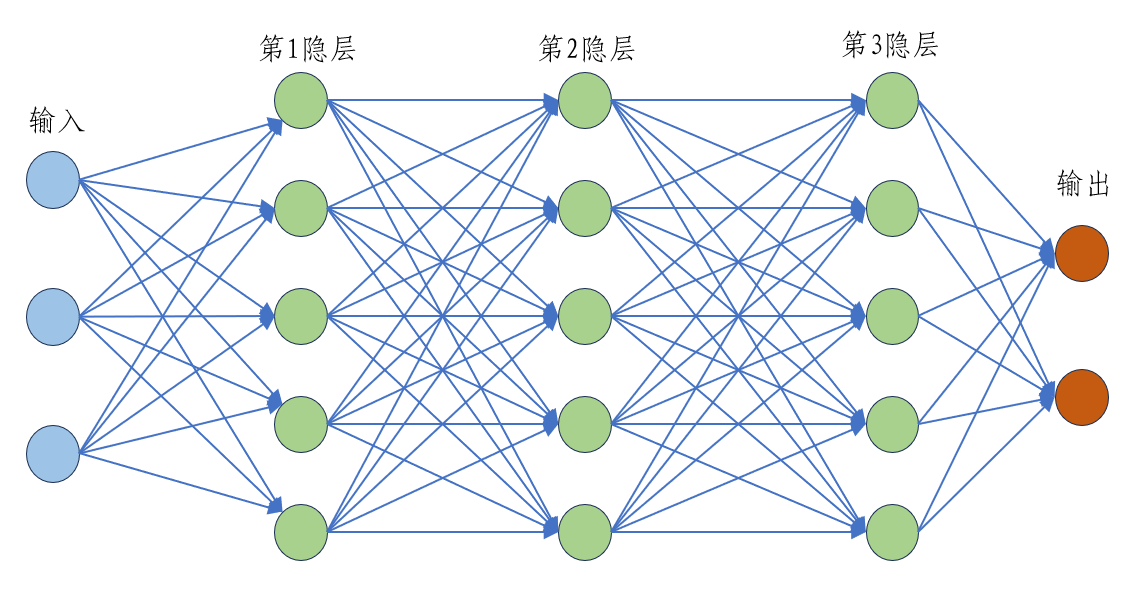
神经网络模型
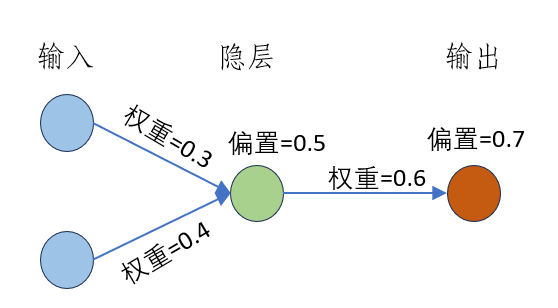
BP训练算法

import numpy as np
x = np.array([0.1, 0.2]) # 输入
y = 0.9 # 真实值
eta = 0.1 # 学习率
# 1. 初始化参数
W1 = np.array([[0.3, 0.4]]) # 隐藏层权重
b1 = np.array([0.5]) # 隐藏层偏置
W2 = np.array([[0.6]]) # 输出层权重
b2 = np.array([0.7]) # 输出层偏置
# 2. 正向传播
def sigmoid(z):
return 1 / (1 + np.exp(-z))
z1 = np.dot(W1, x) + b1
a1 = sigmoid(z1)
z2 = np.dot(W2, a1) + b2
y_hat = sigmoid(z2)
L = 0.5 * (y - y_hat)**2 # 损失
# 3. 反向传播
delta2 = (y_hat - y) * y_hat * (1 - y_hat)
delta1 = np.dot(W2.T, delta2) * a1 * (1 - a1)
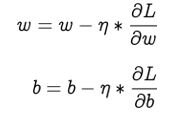
# 4. 参数更新
W2 -= eta * np.dot(delta2, a1.T)
b2 -= eta * delta2
W1 -= eta * np.dot(delta1[0], x.T)
b1 -= eta * delta1
# 输出结果
print("更新前损失:", L)
print("更新后输出层权重W2:", W2)
print("更新后损失:", 0.5 * (y - sigmoid(np.dot(W2, sigmoid(np.dot(W1, x) + b1)) + b2))**2)
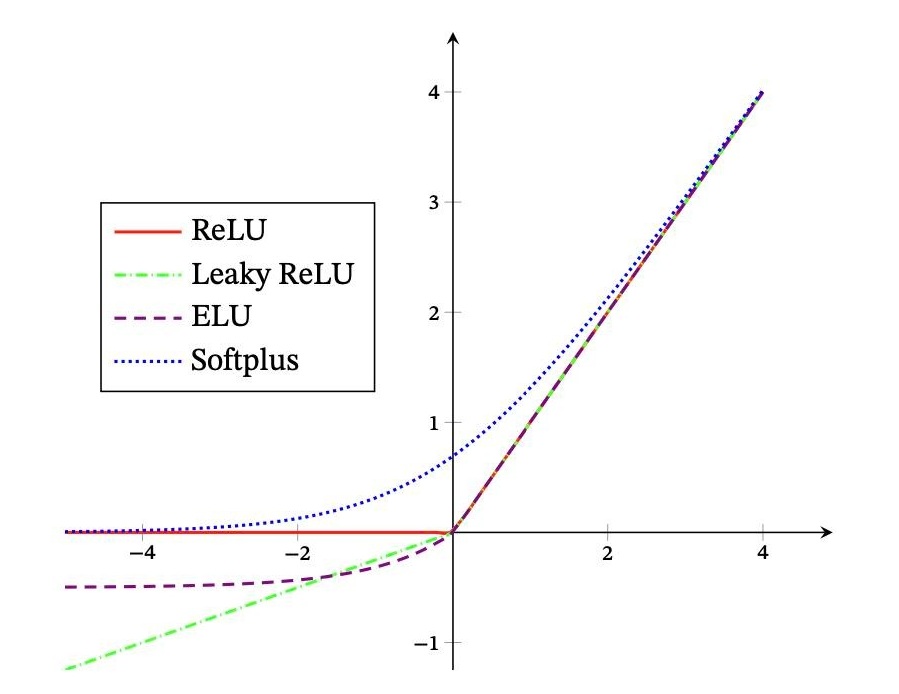
常见激活函数
ReLU (Rectified Linear Unit,修正线性单元)

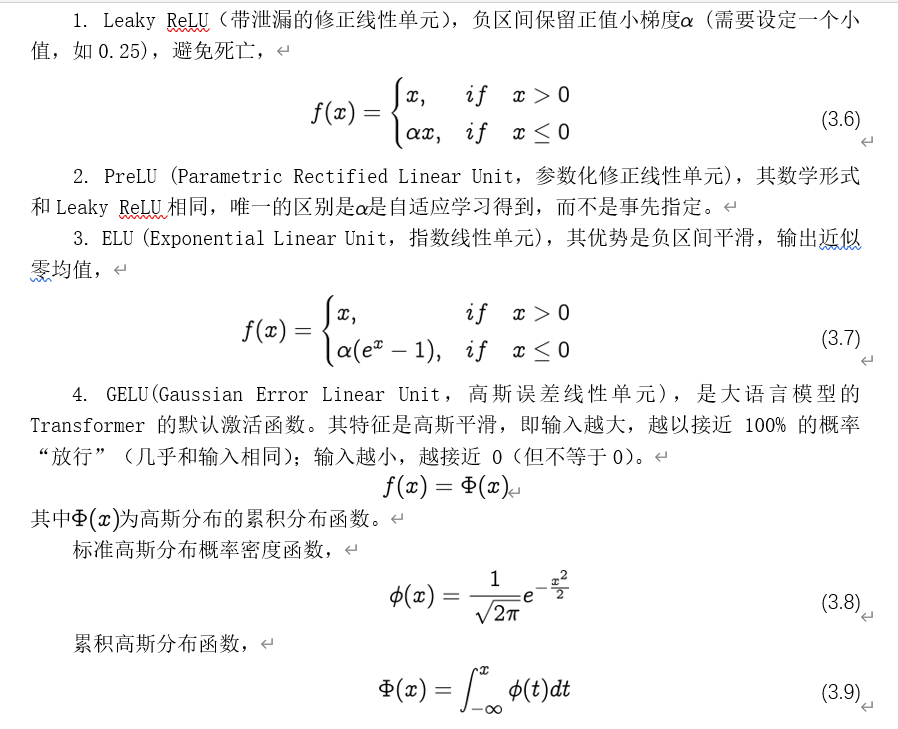
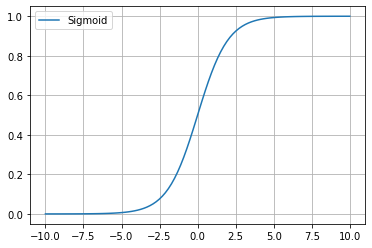
Sigmoid函数(又称逻辑函数,Logistic Function)
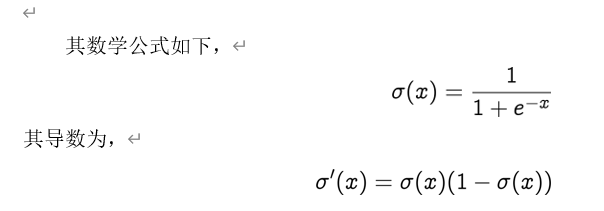
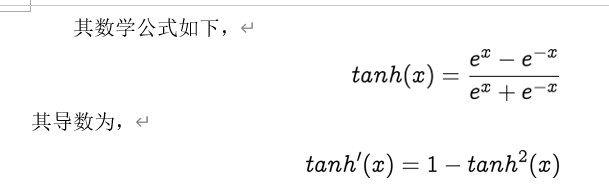
Tanh(双曲正切函数)
前馈网络识别手写数字


import tensorflow as tf
from tensorflow.keras.layers import Dense, Flatten
from tensorflow.keras.models import Sequential
from tensorflow.keras.losses import SparseCategoricalCrossentropy
from tensorflow.keras.optimizers import Adam
import numpy as np

mnist = tf.keras.datasets.mnist
(x_train, y_train), (x_test, y_test) = mnist.load_data()
x_train, x_test = x_train / 255.0, x_test / 255.0  # 归一化像素值

print(x_train.shape)
print(x_test.shape)

model = Sequential([
    Flatten(input_shape=(28, 28)),  # 将28x28的图像展平成784个元素的一维数组
    Dense(128, activation='relu'),  # 第一层隐藏层,128个节点,ReLU激活函数
    Dense(64, activation='relu'),   # 第二层隐藏层,64个节点,ReLU激活函数
    Dense(10, activation='softmax')  # 输出层,10个节点,对应10个类别,使用softmax进行多分类
])

model.compile(optimizer=Adam(),              # 使用Adam优化器
              loss=SparseCategoricalCrossentropy(),  # 使用稀疏分类交叉熵损失函数
              metrics=['accuracy'])                 # 评估指标为准确率

model.summary()

model.fit(x_train, y_train, epochs=10, validation_data=(x_test, y_test))  # 训练模型并在测试集上验证

test_loss, test_acc = model.evaluate(x_test, y_test, verbose=2)
print('\nTest accuracy:', test_acc)

predictions = model.predict(x_test)
print("Predictions:\n", predictions)  # 查看预测结果(概率分布)

imagePath = "D:\\work\\mygithub\\docs\\intoAI\\src\\chapter2\\images\\intoAI_2_0.png"
img = tf.keras.utils.load_img(imagePath, color_mode='grayscale')
print(img.size)  # 输出图像尺寸
print(img.mode)  # 输出图像模式,应为 'L' 表示灰度图像
img_array = (np.expand_dims(img,0))
print(img_array.shape)
predictions = model.predict(img_array)
print(predictions)
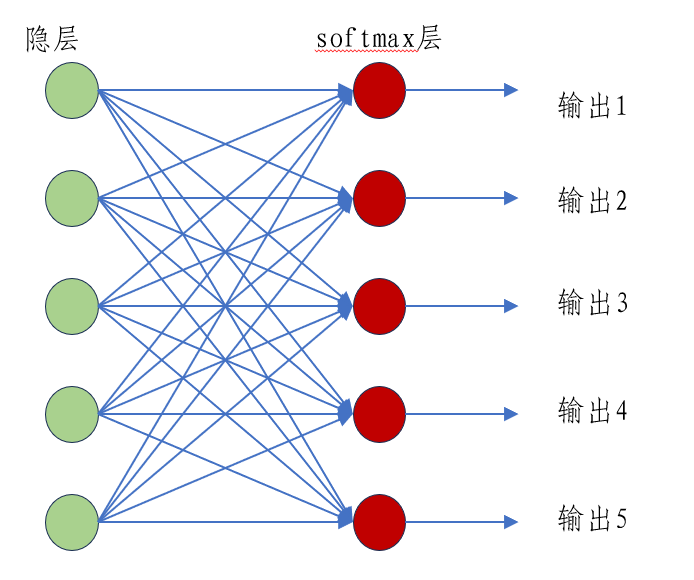
softmax